Blog Post Title
Blog post excerpt [1-2 lines]. This text is automatically pulled from your existing blog post.


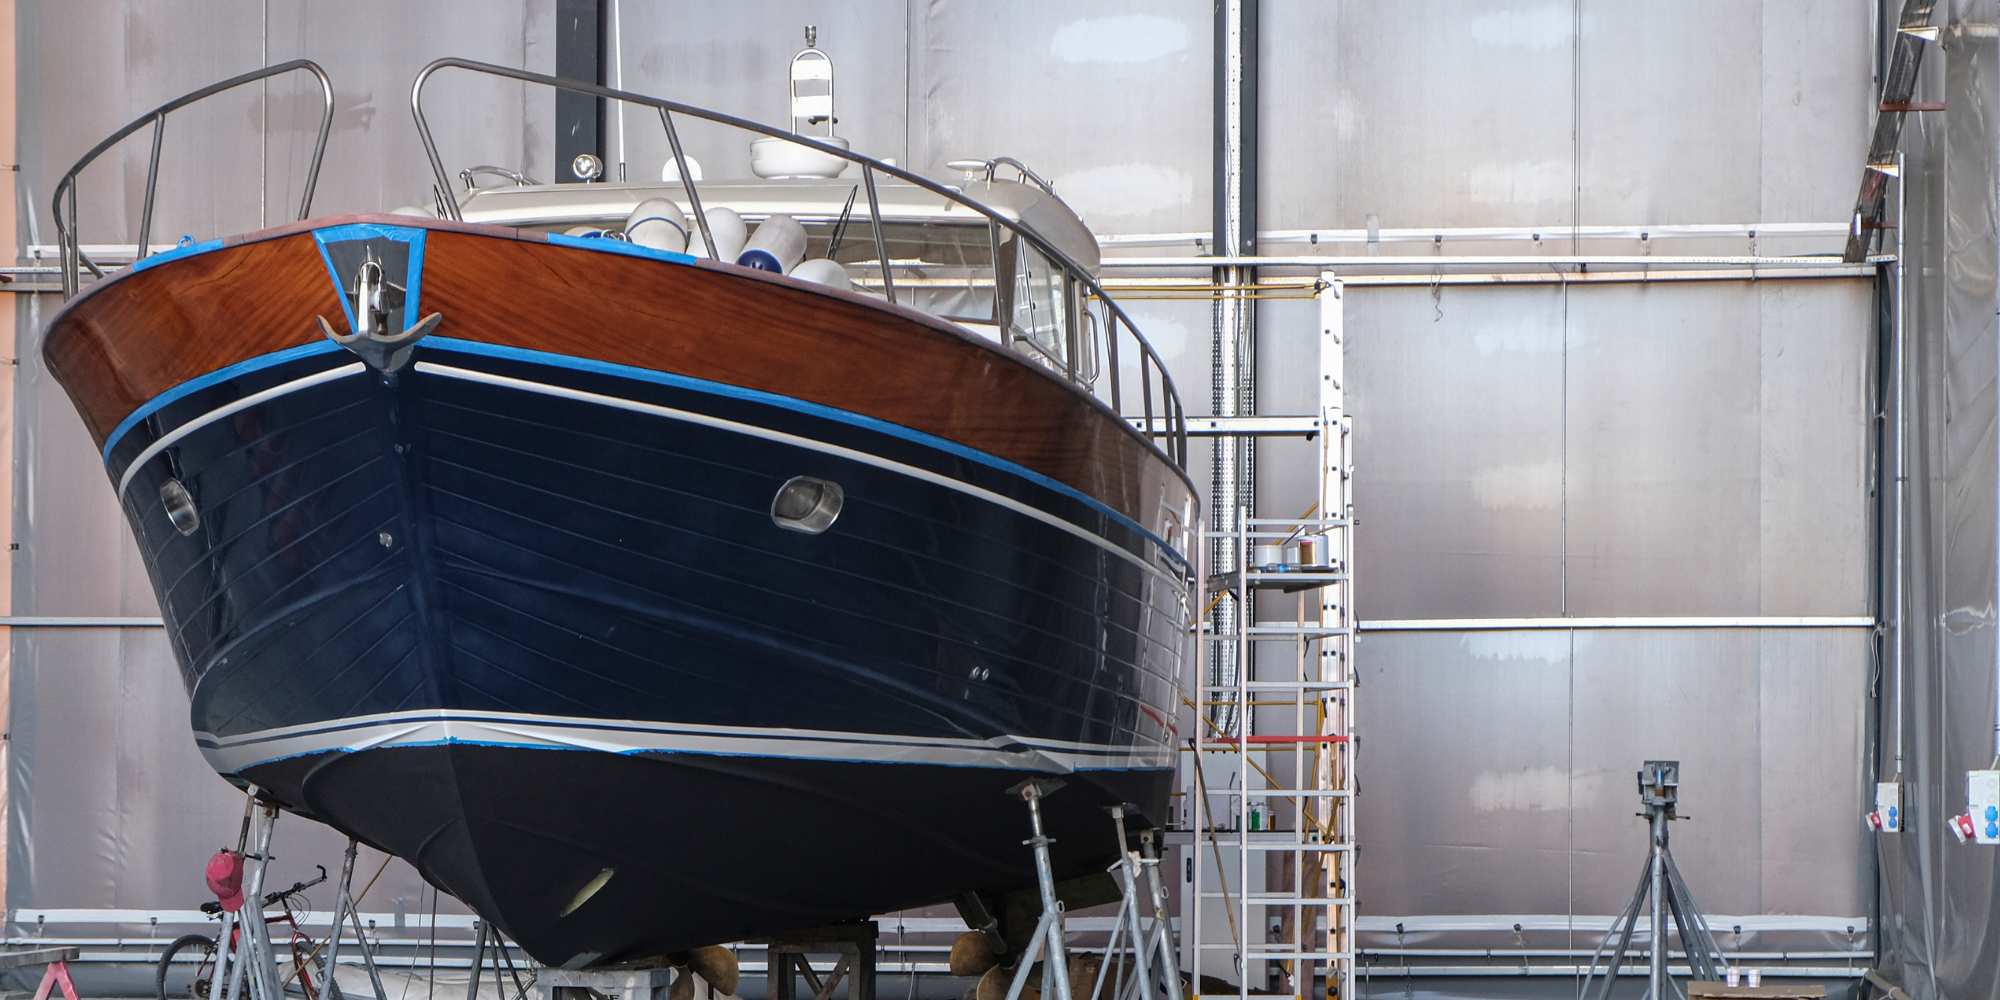
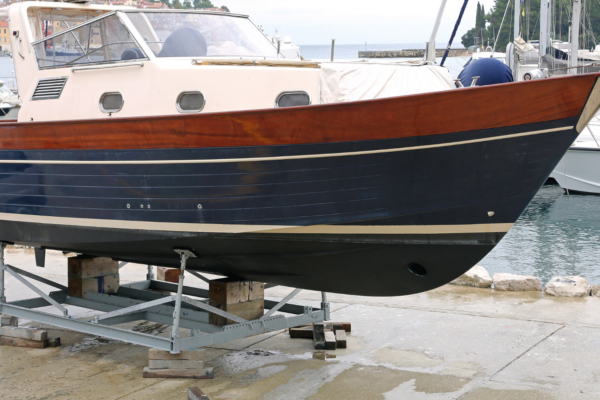
Focus on repairing or replacing damaged wood and reinforcing the overall structural integrity of the boat. This service includes fixing broken frames, planking, and keels, ensuring the boat is safe and durable for continued use on the water.
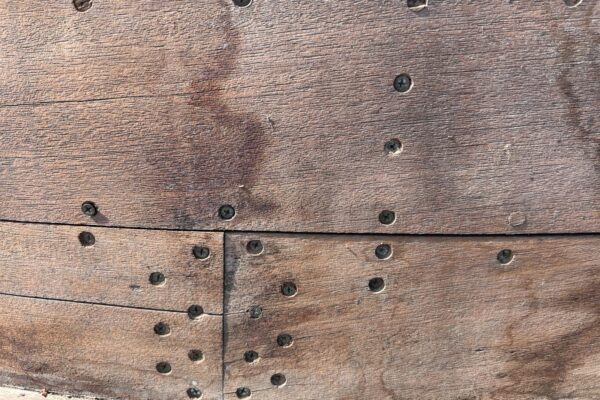
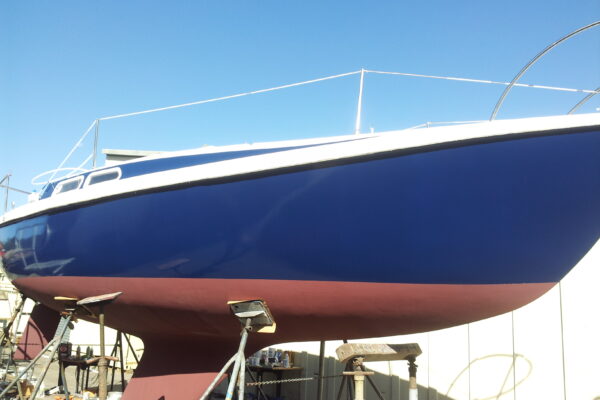
Utilize environmentally friendly methods to strip old paint, varnish, and finishes without damaging the underlying wood. After removal, apply high-quality marine coatings and varnish to protect and enhance the boat's appearance, ensuring a long-lasting and aesthetically pleasing finish
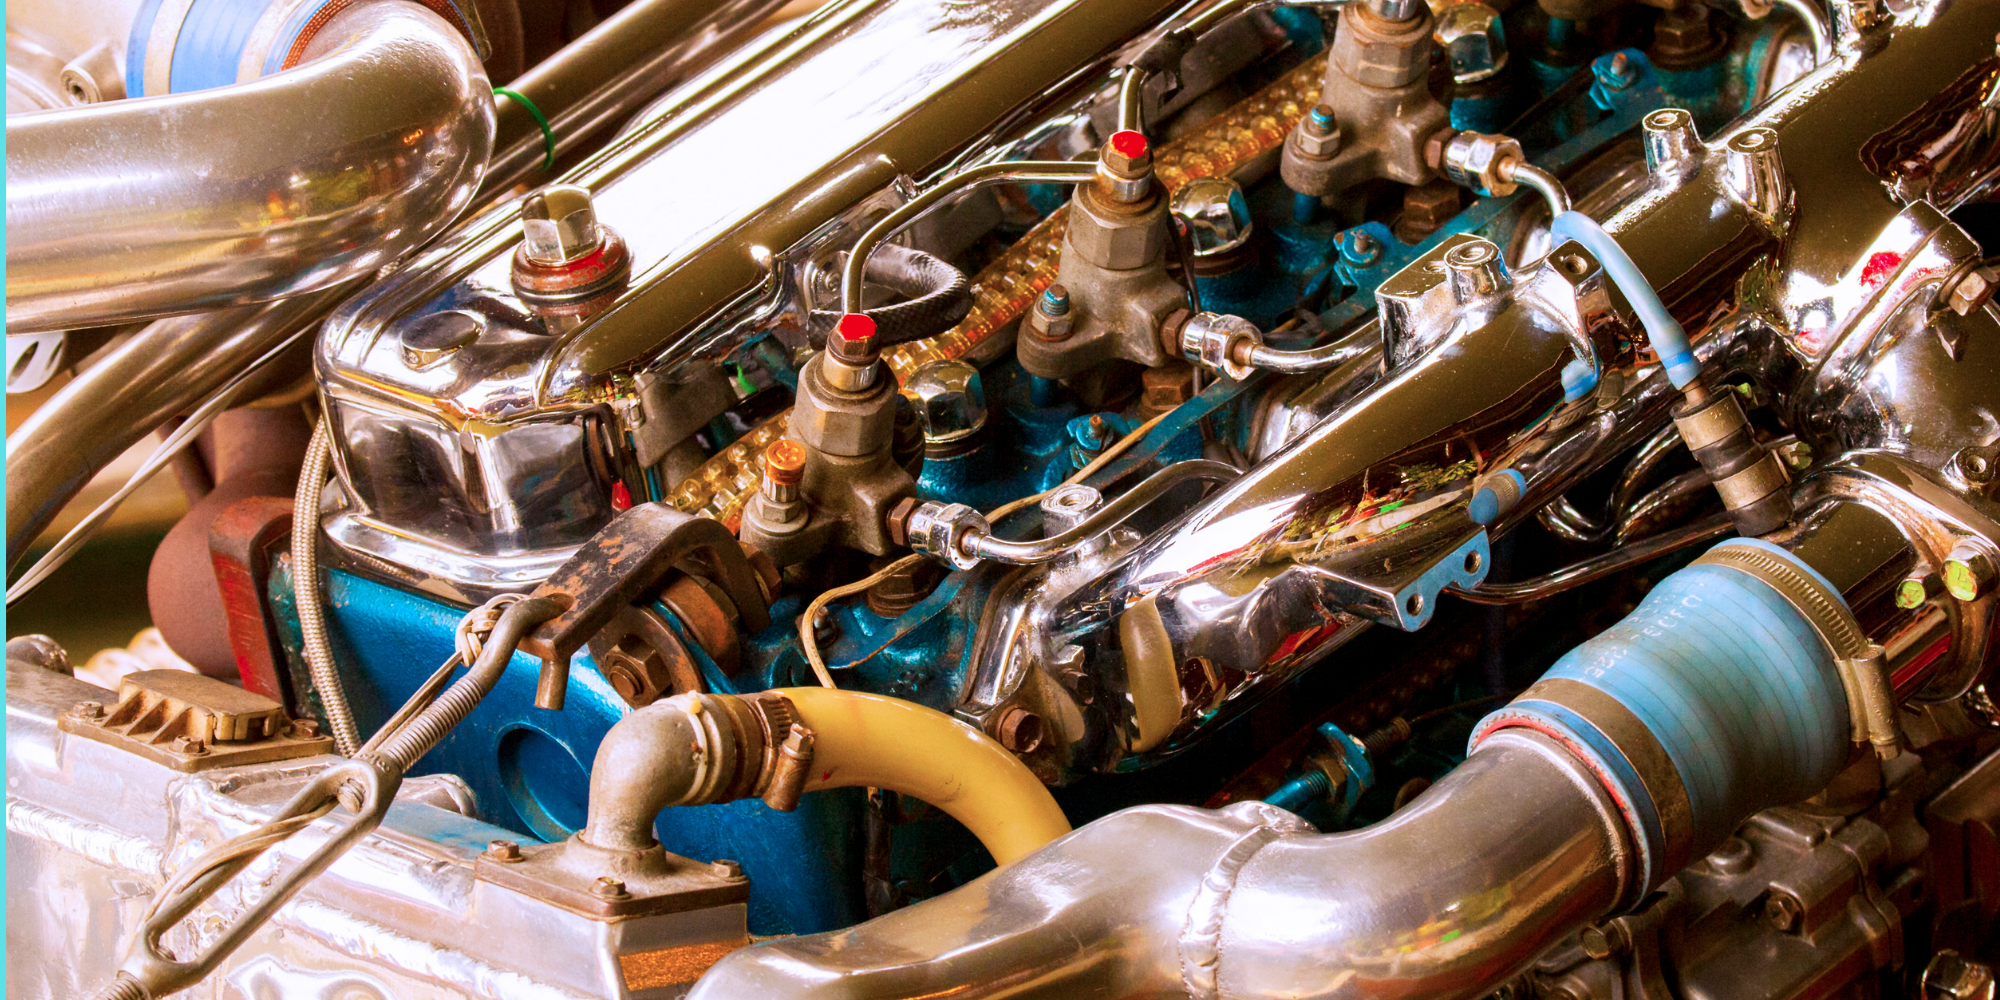
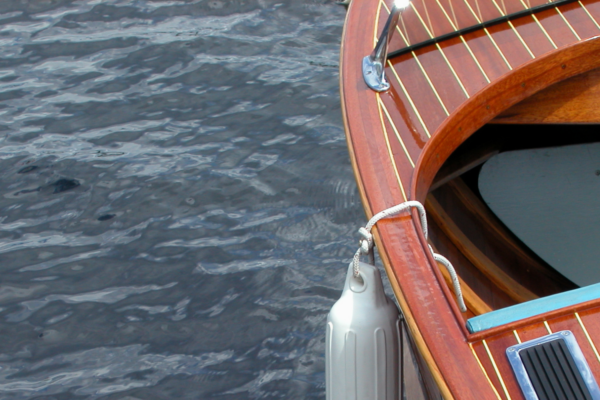
Upgrade and repair electrical systems, including wiring, controls, and dashboard elements. This service ensures all electrical components function reliably and safely, incorporating modern advancements for enhanced performance and usability.
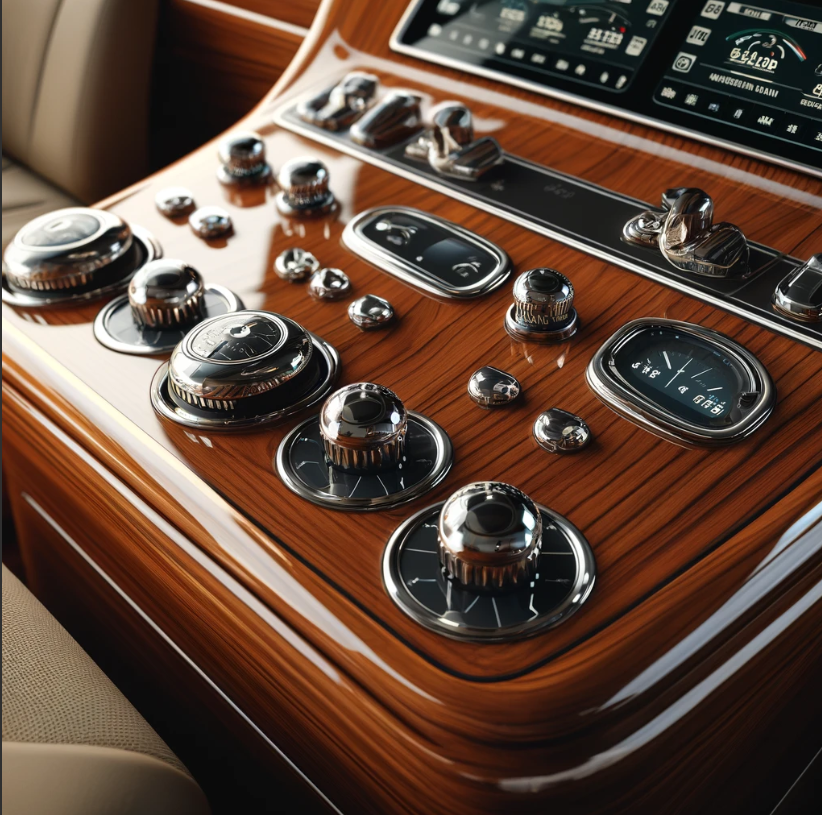
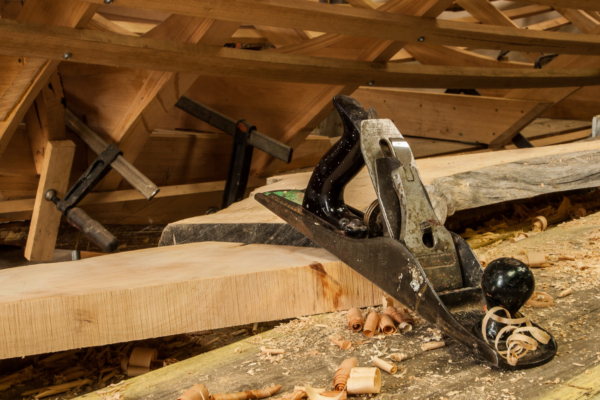
Offer tailored carpentry services to restore or replace wooden elements such as decks, cabins, and interior panels with precision craftsmanship. This can include custom fittings, furniture, and other wooden details that maintain the vessel’s classic look while incorporating contemporary design elements if desired


Blog post excerpt [1-2 lines]. This text is automatically pulled from your existing blog post.

Blog post excerpt [1-2 lines]. This text is automatically pulled from your existing blog post.